Manual for installation and usage of Signature Verification Utility
Important Note:
Users are advised to note that the signature verification utility (SVU) will execute only on machines with OS as Windows 2000 (Professional & Server) / Windows XP / Windows 2003 (Professional & Server).
Users may continue to download the SPEED-e / STeADY files from the SPEED-e website on the current machine in use. However, to verify the SPEED-e / STeADY files the SVU should be installed on the machines with the aforesaid operating systems.
Authentication of Instructions
(A) Existing feature :
1) All files downloaded from SPEED-e must be authenticated by the Users [(Depository Participants/Users of STeADY/Users subscribed for IDeAS (Clients)] using the file authentication software.
2) The file authentication software will strip the digital signature after successful authentication. The new file thus generated after authenticating must be stored as a different file so as to keep the original downloaded file with SPEED-e’s signature intact.
3) If the file authentication fails, DO NOT import the instructions into the DPM System/ back office and report the same to NSDL Help Desk immediately.
(B) New feature - Release of FormSigner Compatible signature verification utility
The existing file verification utility loaded on the SPEED-e website would be replaced with a new FormSigner Compatible signature verification utility. The manual highlights the installation procedure and usage of the utility. Users would be required to follow a similar procedure with respect to the usage of the new utility.
(C) Installation process
The signature verification utility (SVU) is available for download at :
https://eservices.nsdl.com/SecureWeb/SignSOTFeature.html
Step 1: Installing the Signature Verification Utility (SVU)
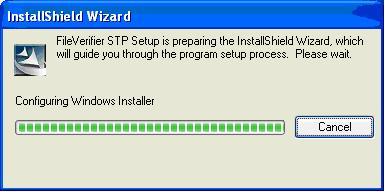
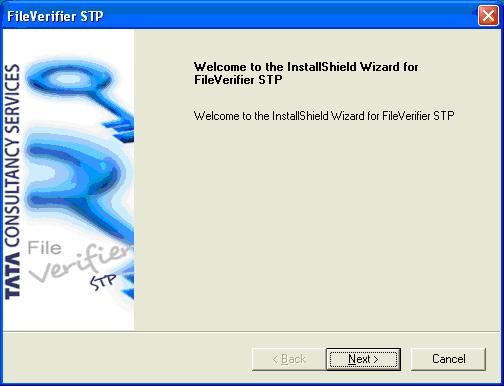
i) User must have the OS administrator rights of the computer on which the SVU is being installed. After login as an administrator User, download the SVU from the aforesaid website link. After unzipping the SVU, double click on the application launcher file named 'File Verifier STP'. This will facilitate the User to Install Shield Wizard as shown below. This marks the beginning of installation of File Verifier STP on the User's computer.
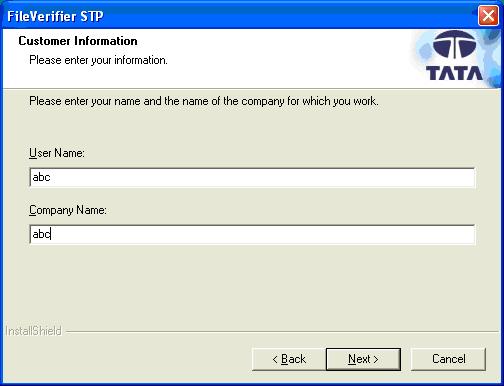
(ii) This will take the User to the Install Shield wizard. Keep clicking next and also provide required information like User Name and Company Name till the installation is complete.
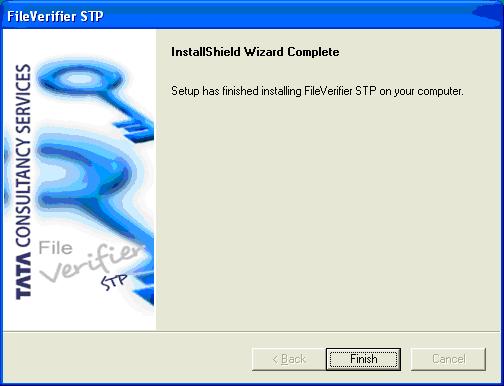
C) Finally click on “Finish” when the installation is completed.
Step 2 : Download and import of TCS CA, CCA INDIA Certificates and NSDL Root CA certificate :
After the SVU is installed in the computer, Users are advised to download the TCS CA Certificate and CCA India Certificate, at the following link and follow the given process:
i) Click on http://www.tcs-ca.tcs.co.in/index.jsp for downloading TCS CA, CCA INDIA Certificates for Users of STeADY).
ii) Thereafter click on the icon “CA Certificates” and choose “current certificates” from the next window.
(iii) The next window will provide you the CCA India and TCS CA certificate links.
(iv) Click on the link to download the latest TCSCA and CCA India certificates.
(v) Depository Participants, Users of SPEED-e (Smart card / e-token Users) / Users of IDeAS should click on the following for downloading NSDL CA Root certificate :
(a) https://eservices.nsdl.com/SecureWeb/downloads/nsdlca.zip or
(b) https://eservices.nsdl.com/SecureWeb/downloads/nsdlca.zip
(vi) Download the aforesaid certificates as the case may be into your computer.
(vii) Import the certificate downloaded into the computer by following the given process:
(a) Click on Internet browser - 'Tools' - Internet option.
(b) Under Internet option, Click on 'Contents'.
(c) Under 'Contents', click on 'Certificates' and thereafter click on 'Import' and browse for the certificates (TCSCA and CCA India certificates / NSDL CA Root certificate) as the case may be, which is downloaded into your computer as mentioned above. After the required path is selected, kindly import the TCSCA and CCA India certificates / NSDL CA Root certificate.
Step 3 : Using of the SVU - File Verifier STP Utility.
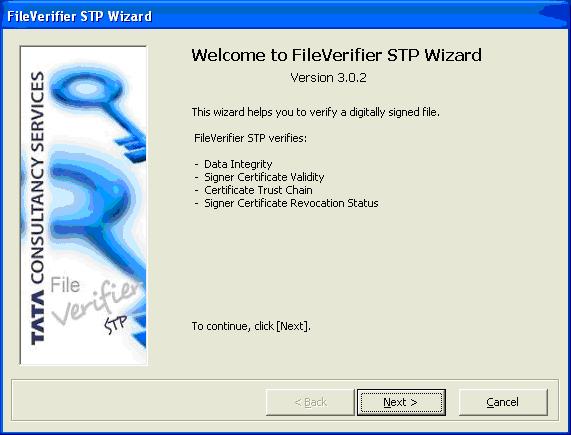
(A) Double click on the FileVerifier STP icon. This will take you to FileVerifier STP Wizard as shown below. Click on Next to start Verification of signed files
(B) On Clicking the 'next' button, the following screen will appear:
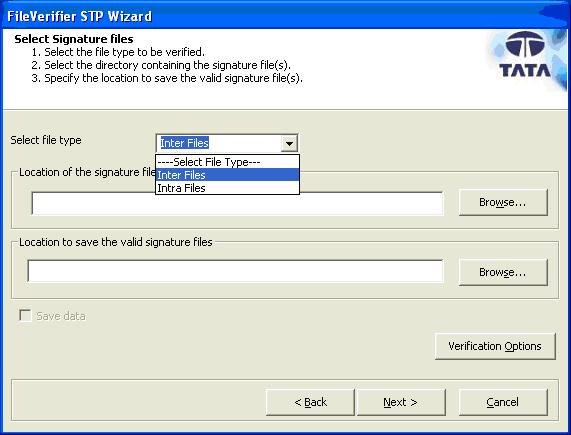
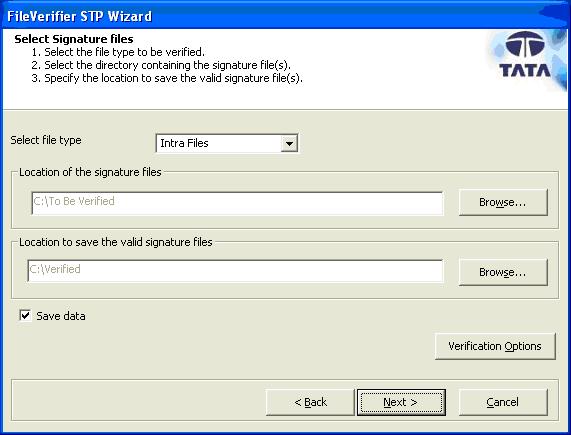
(C) Select the type of file i.e. 'Inter Files' or 'Intra files' from drop down box as the case may be. In case of “IOP Files”, STeADY Users would be required to use the option “Inter files”. While “Intra files” shall be used by Depository Participants, Clients (User of IDeAS) and Users of STeADY for files downloaded from SPEED-e, IDeAS and STeADY respectively.
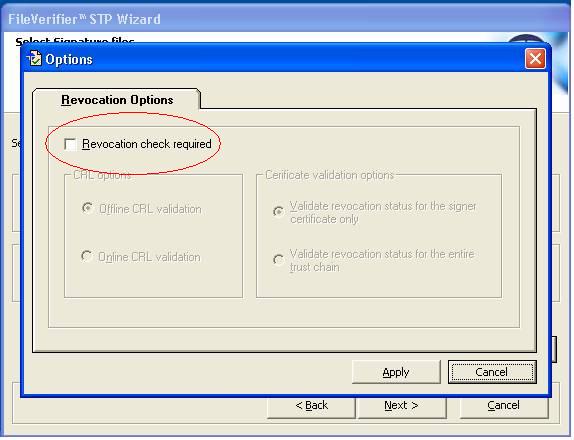
(D) The settings under the Verification Options button should not be changed.

The Revocation check required checkbox should always be unchecked as indicated in the image below
(E) Users are requested to create two folders viz., source folder for keeping the downloaded files from the SPEED-e website and the target folder for saving the authenticated file. Browse and select the path of the source file, which you wish to verify, under the icon “Location of the signature files”. Thereafter, select the path of the target path, where you wish to save the signed files after verification, under the icon “Location to save the valid signature files” and enable the icon on 'Save Data'. Upon clicking on the 'Next' button, the SVU will facilitate to move the downloaded file from the source folder to the target folder after authenticating the same as well as detach the signature of the downloaded file and place the same into the data folder. The signed file which is moved into the target folder, with signature embedded in it, should be stored by the Users for future references. Users can also authenticate multiple files at the same time.
(F) Thereafter, the User will view the
location of the signed files along with the number of files successfully
verified after the verification process, as shown below. 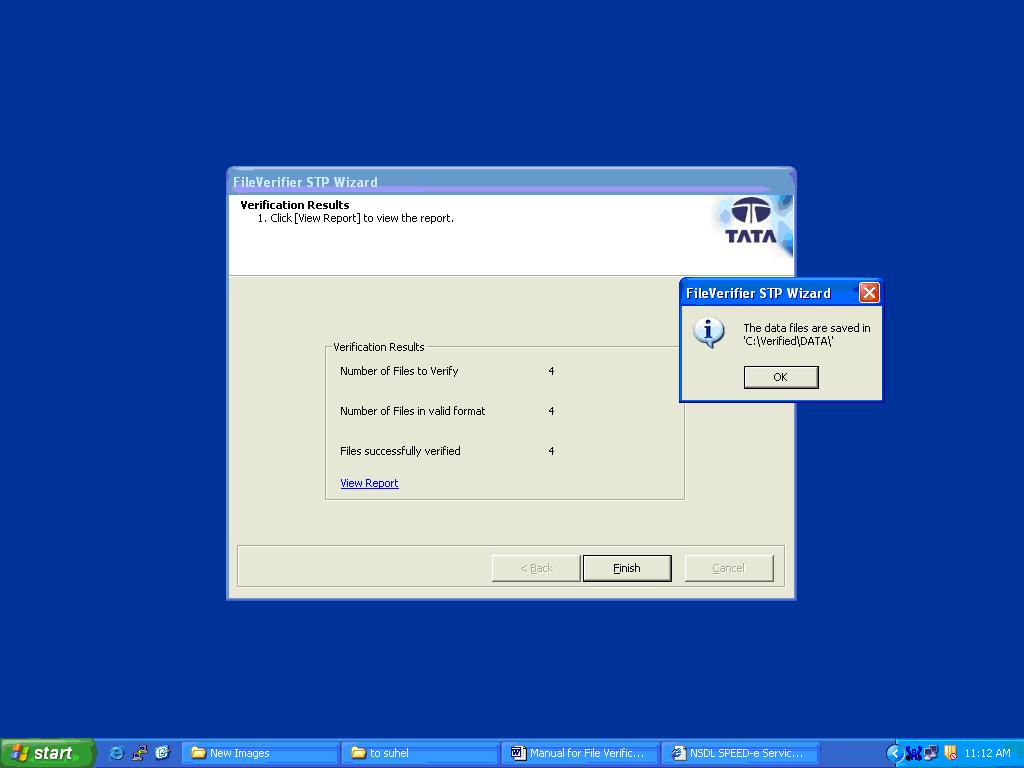
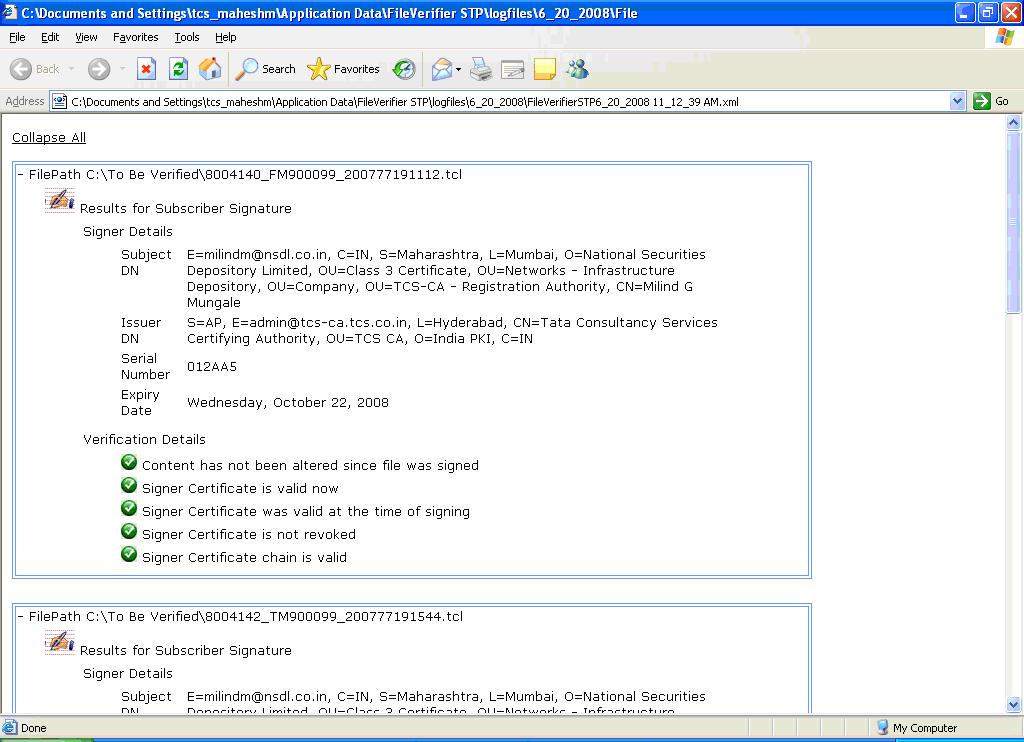
G) The option “View Report” can be used to check the report of verification. This is obtained in case of both successful and unsuccessful verification. This report gives the verification checks performed while verifying the files. Thus, it can be used to locate error in case of unsuccessful verification. On clicking the 'View Report' the following screen would be displayed :
(H) In case of error, the same will be reported in a red mark as show below.
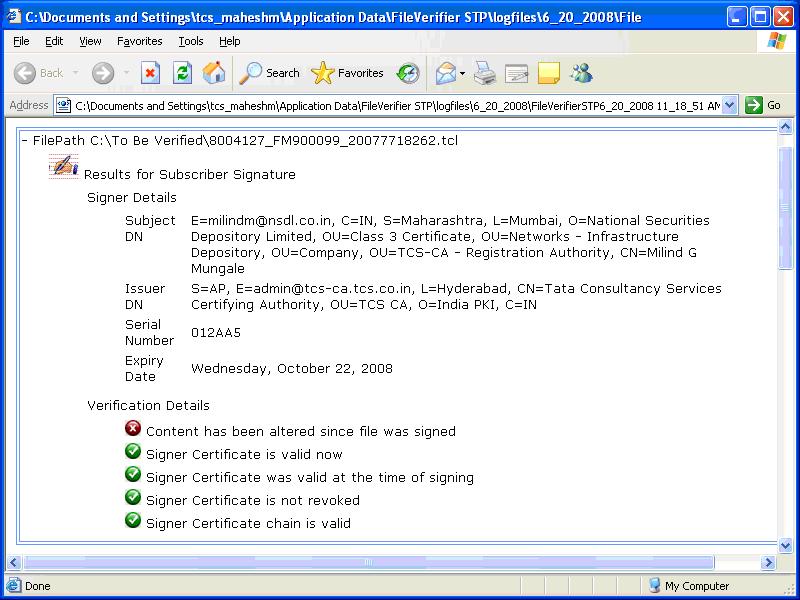
(I) In case the error is reported in red mark, kindly contact NSDL Helpdesk.